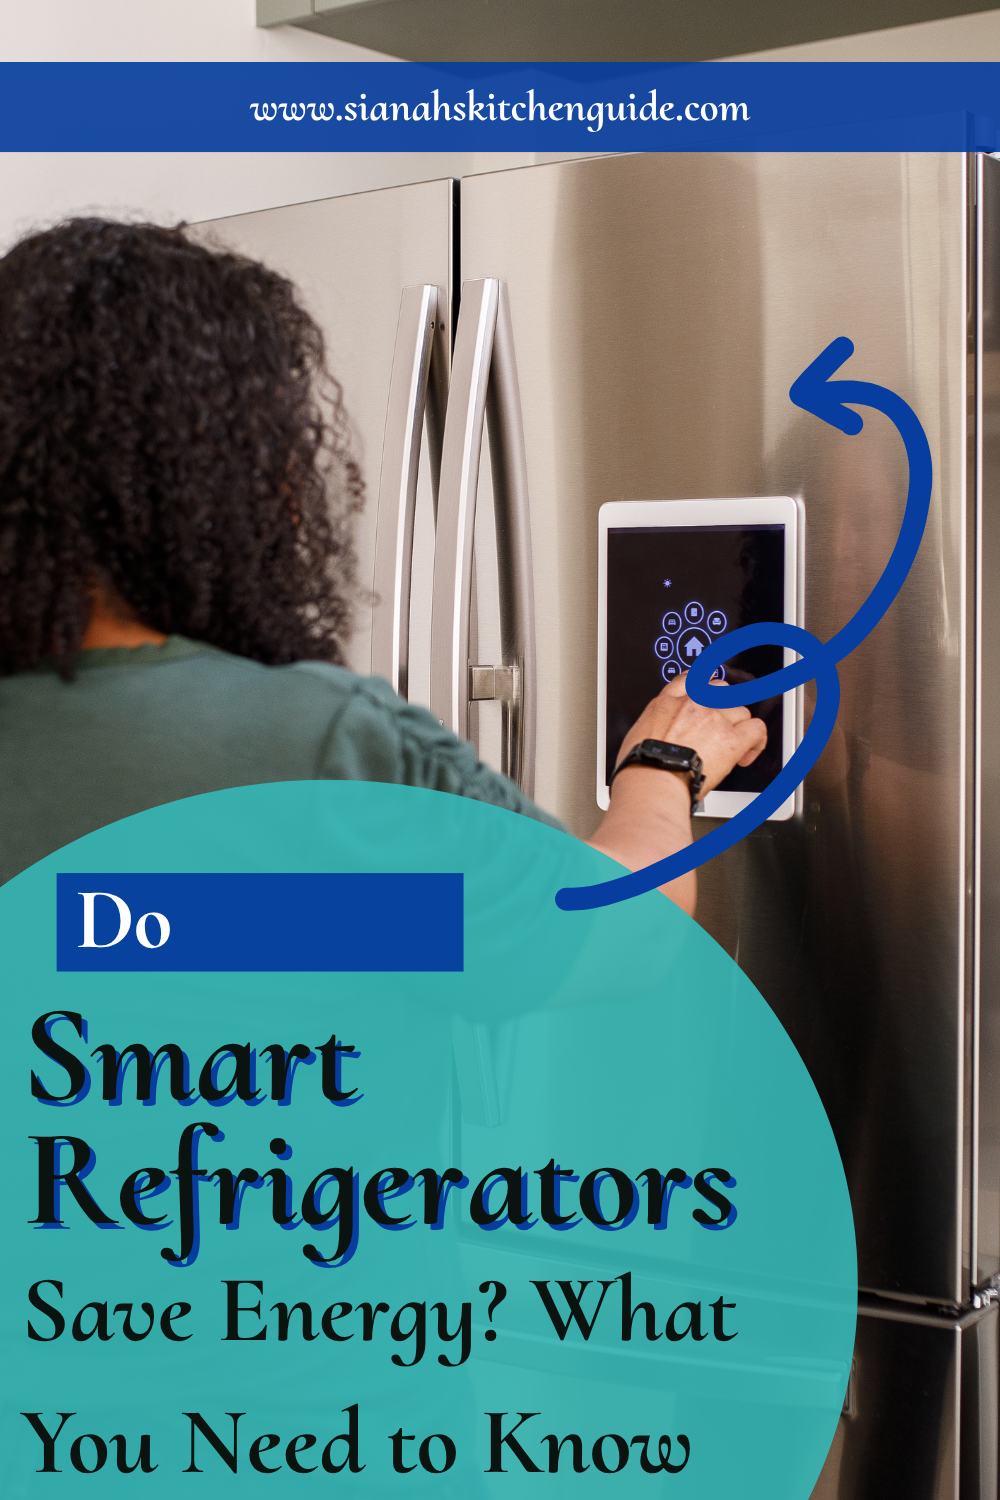
How to clean a smart refrigerator wasn’t something I thought much about after bringing one home.
I already knew how to clean a regular refrigerator.
Take everything out.
Wipe the shelves.
Throw away expired food.
Simple.
Then I noticed the fingerprint-covered touchscreen.
The stainless steel doors.
The water dispenser.
The cameras.
Suddenly, I realized this wasn’t just another refrigerator.
It had features I didn’t want to scratch, damage, or clean the wrong way.
Keeping a smart refrigerator clean isn’t difficult. You just need the right approach.
Why Regular Cleaning Matters
Table of Contents
ToggleCleaning your smart refrigerator regularly does more than keep it looking nice. It also helps protect the appliance and the food inside it.
I’ll admit there have been weeks when I opened the refrigerator and thought, “I’ll clean it tomorrow.”
A few tomorrows later, sticky shelves, mystery spills, and fingerprints had taken over.
The longer you wait, the harder those messes become to remove.
Regular cleaning helps:
- Prevent unpleasant odors.
- Reduce bacteria from food spills.
- Keep shelves looking new.
- Protect stainless steel finishes.
- Keep the touchscreen free from grease and fingerprints.
A few minutes every week can save you from spending an entire afternoon deep-cleaning later.
Step 1: Empty the Refrigerator
Start by removing all the food before cleaning.
This gives you access to every shelf, drawer, and corner while making it easier to check expiration dates.
As you remove items, group similar foods together.
I like using this opportunity to throw away expired products and wipe down jars or bottles that have collected sticky residue.
It’s a simple habit that makes putting everything back much more organized.
Step 2: Remove Shelves and Drawers
Most refrigerator shelves and drawers can be removed for easier cleaning.
Wash them with warm water and mild dish soap.
Avoid using very hot water immediately after removing cold glass shelves, as sudden temperature changes may cause them to crack.
Allow everything to dry completely before placing it back inside the refrigerator.
Component | Best Cleaning Method | Avoid |
Glass shelves | Warm soapy water | Sudden hot water |
Plastic drawers | Mild dish soap | Abrasive scrubbers |
Door bins | Soft sponge | Harsh chemicals |
Step 3: Wipe the Interior
Once the shelves are removed, wipe every interior surface with a soft microfiber cloth and a food-safe cleaning solution.
Pay extra attention to corners where crumbs and spills often collect.
If you notice dried food, let the cleaner sit for a minute before wiping instead of scrubbing the area aggressively.
Cleaning gently will protect the interior finish while making the overall cleanup much easier.

Step 4: Clean the Touchscreen Carefully
The touchscreen is one of the biggest differences between a smart refrigerator and a traditional model, so it deserves a little extra care.
I know it’s tempting to spray glass cleaner directly onto the screen.
Don’t.
Instead, lightly dampen a clean microfiber cloth and gently wipe away fingerprints and smudges.
Using harsh cleaners or abrasive towels may damage the screen’s protective coating over time.
Always follow your refrigerator manufacturer’s recommendations for cleaning electronic displays.
Step 5: Clean the Exterior
The outside of your smart refrigerator is the first thing people notice, so keeping it clean helps your kitchen look its best.
If you have a stainless steel refrigerator, you’ll probably notice fingerprints almost every day, especially if you have children.
I learned pretty quickly that grabbing the nearest cleaning spray wasn’t the best idea.
Some cleaners leave streaks, while others can damage the finish over time.
Instead, wipe the doors with a soft microfiber cloth and a cleaner recommended for stainless steel appliances. Always wipe in the direction of the grain rather than across it for the best results.
If your refrigerator has a matte or fingerprint-resistant finish, check the owner’s manual before using specialty cleaners.
Area | Best Cleaning Method | Avoid |
Stainless steel doors | Microfiber cloth and stainless steel cleaner | Abrasive pads |
Handles | Mild soap and warm water | Bleach-based cleaners |
Control panel | Soft microfiber cloth | Spraying cleaner directly onto controls |
Step 6: Clean the Water Dispenser and Ice Dispenser
The water and ice dispenser are high-touch areas that deserve regular attention.
Think about how many hands touch the dispenser every day.
Between grabbing a glass of water, filling bottles, and getting ice, these areas can collect fingerprints, water spots, and bacteria quickly.
Wipe the dispenser area with a soft cloth and mild cleaning solution.
If your refrigerator has a removable drip tray, take it out, wash it with warm soapy water, and dry it thoroughly before replacing it.
If your refrigerator uses a water filter, don’t forget to replace it according to the manufacturer’s recommended schedule to help maintain a healthy water quality.
Step 7: Keep Your Refrigerator Smelling Fresh
A clean refrigerator should smell fresh without relying on air fresheners or scented cleaners.
Every now and then, I open the refrigerator and notice a smell before I notice the cause.
Usually, it’s forgotten leftovers hiding in the back or produce that’s seen better days.
The easiest way to prevent odors is to check your refrigerator every week.
Throw away expired food.
Store leftovers in airtight containers.
Wipe up spills as soon as they happen.
These simple habits go a long way toward keeping unpleasant smells from developing.
How Often Should You Clean a Smart Refrigerator?
Cleaning your refrigerator a little at a time is much easier than waiting until it becomes a major project.
Here’s a simple routine to follow.
Task | Recommended Frequency | Time Needed |
Wipe shelves and spills | Weekly | 5–10 minutes |
Clean touchscreen and exterior | Weekly | 5 minutes |
Deep clean entire refrigerator | Every 3–4 months | 30–60 minutes |
Sticking to a regular schedule helps your refrigerator stay cleaner and makes each cleaning session much quicker.
Frequently Asked Questions
Can I use glass cleaner on a smart refrigerator touchscreen?
No.
It’s best to use a clean microfiber cloth or follow the manufacturer’s cleaning instructions. Spraying harsh cleaners directly onto the screen may damage its protective coating.
Can I use bleach inside my refrigerator?
No.
Mild dish soap and warm water are generally all you need for routine cleaning. Harsh chemicals can leave residues and may damage interior surfaces.
How often should I deep clean my smart refrigerator?
A deep cleaning every two to three months works well for most households, although families who cook frequently may prefer to do it more often.
How do I remove odors from my refrigerator?
Start by removing expired food, cleaning spills, and washing all removable shelves and drawers. Keeping food in sealed containers and cleaning regularly is the best way to prevent lingering odors.
And if you are a DIYer like me, open a jar of baking soda in the fridge and keep it there after you have cleaned the entire fridge and the scent still lingers.
Should I unplug my refrigerator before cleaning it?
For routine cleaning, many manufacturers don’t require you to unplug the refrigerator. However, always follow the cleaning and safety recommendations in your owner’s manual, especially when cleaning around electronic components.
Conclusion
Cleaning a smart refrigerator doesn’t have to be complicated.
A few minutes each week can help protect your refrigerator’s finish, keep the touchscreen looking new, reduce odors, and make food storage more pleasant.
The goal isn’t perfection. It’s building simple habits that help one of the most expensive appliances in your kitchen last for years.